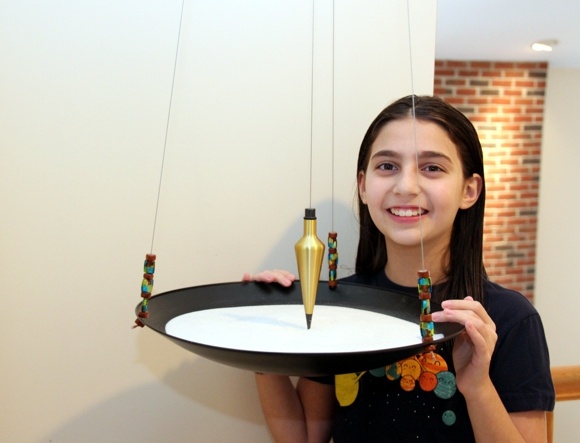
On a recent trip to Israel, Abigail (10) saw a very pretty, large, and expensive sand pendulum. In it, the pendulum was able to swing, while at the same time, the sand pan was able to rotate freely. We applied our motto “Why buy it if we can MAKE it!”.
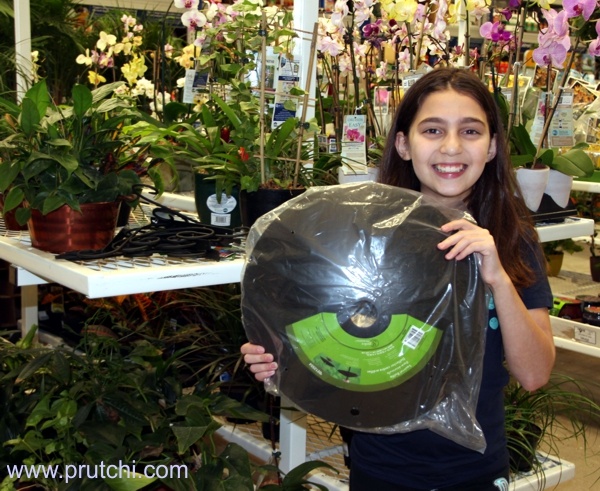

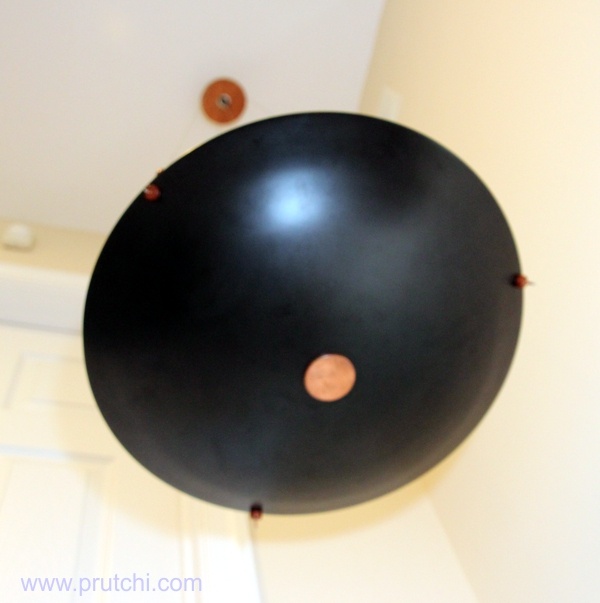
Back at home, we set off to find the materials that we would need. The first, and most difficult part to figure out was the bowl to hold the sand. After looking at many woks, pot dishes, and other bowl-like objects, we decided to go for an out-of-the box solution and use a squirrel baffle. We purchased a 16″ diameter, black squirrel baffle at Lowes (item number 212554 model BY05) for $13.19. The baffle has a small hole on its rim. We drilled another two equidistant holes for the suspension cables.
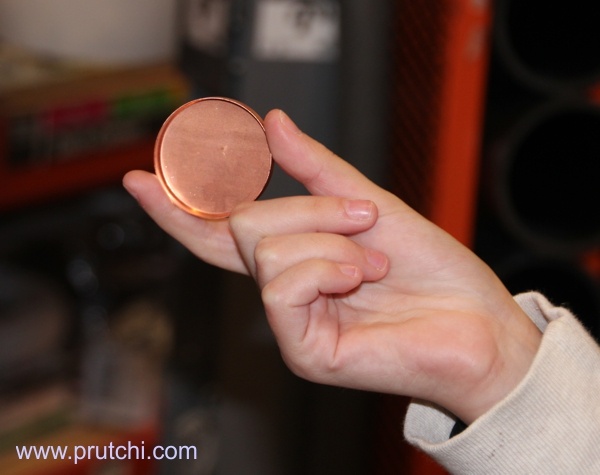
We plugged the baffle’s hole with a 1-1/2″ copper tubing cap. Although the cap’s taper held it inside the hole, we glued it with epoxy to prevent sand from leaking.
_
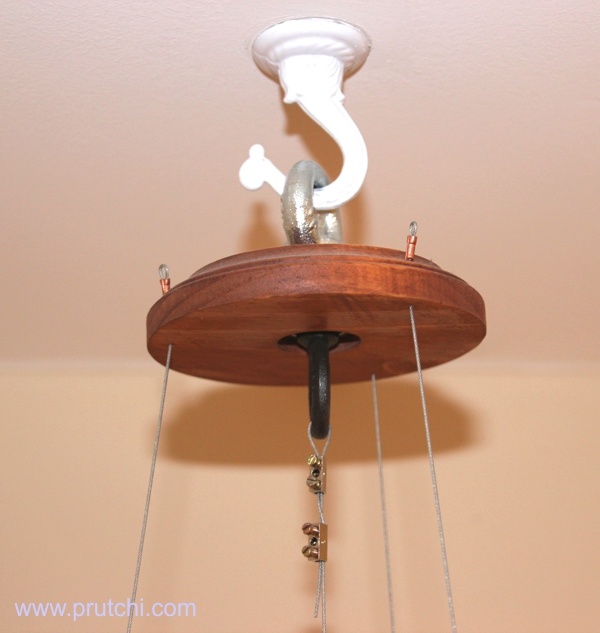
 Next, we built the top rotating hanger. We purchased a 4″ diameter wooden circle (3/4″ thick) at the craft store (A.C. Moore #: 128005: Round Pine Wood Clock Face-4″). These are meant for making clocks or displaying small medals. We cut a 1″ diameter hole at its center, and drilled three, equally spaced, small holes on the rim through which we could thread the cables. After sanding it thoroughly, we coated it with polyurethane varnish.
We placed a 1-1/8″ OD x 3/8″ shaft flanged, double sealed steel ball bearing (McMaster-Carr 6384K358) within the center hole. Then, we inserted a 3/8″-16 stainless steel eyebolt (McMaster-Carr 33045T81) through the ball bearing’s shaft, and terminated it with a 3/8″-16 forged oval eye nut (McMaster-Carr 3061T25).
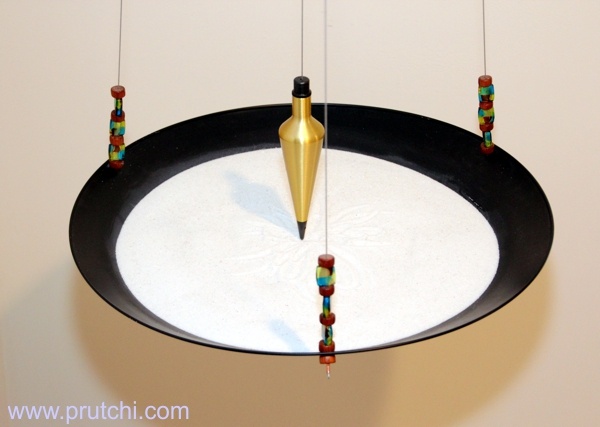
We suspended a 16 oz brass plumb bob (McMaster-Carr 2178A5) on 4′ of .037″ thick nylon-coated stainless-steel cable (Stainless Steel Type Nylon Coated Cable .037″ 7×7 from SmallParts.com). We crimped the cable inside the bob’s top cap, and threaded the cable through the eyebolt. We used two screw terminals that we pulled out of a RadioShack European-Style Terminal Strip (Model 274-677) to clasp the cable’s top end. We did this so that we could adjust the bob’s height.
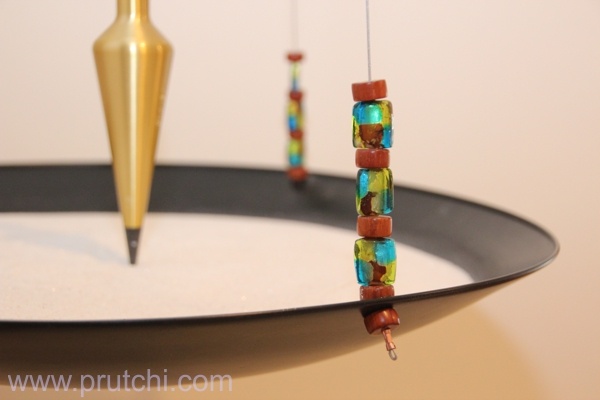
We then asked Mom for some pretty beads to put at the end of the 4′ suspension cables. We terminated each cable with a wooden bead and a copper crimp.
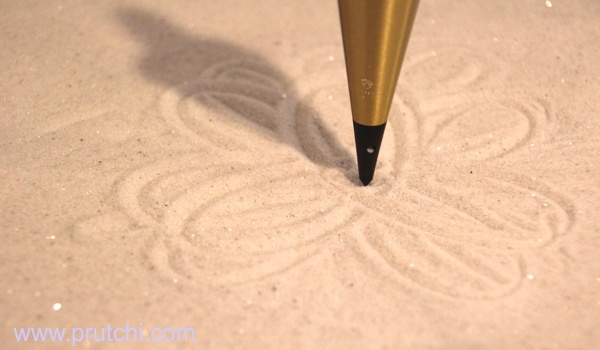
We then hung the sand pendulum from the ceiling and filled the bowl with fine white sand that we also bought at the crafts store. Finally, we adjusted the height of the bob so that the tip would touch the sand. We gave the pendulum a swing, and set the bowl to rotate, which immediately gave us our first beautiful “flower” sand drawings!

Please visit www.diyPhysics.com and www.prutchi.com for other cutting-edge d.i.y. projects, and remember to check out our new d.i.y. Quantum Physics book:

Cool! Re-posting on the DIY POWER group page on Facebook.
Elegant design. Beautiful and functional.
Thank you for your detailed instructions on this interesting project.
Sweet! I put it on Pinterest.
Excellent.. I think my two girls would like to have something like this hanging about the house as well.. the directions are of immense help 😉
Cheers
Thank you for posting! Very informative directions and photos. Cleaning out our garage, I found 2 antique carpenter’s “plumb bobs” and remembered those cool “Pit and Pendulum” sand pendulum gifts and thought, “I wonder if I could just make it myself for guests to play with OUTSIDE?”
I also thought, surely someone has figured out how to make this at home. Thank you again for posting this information! I can’t wait to get started.
I’ve been wondering how to make my own sand pendulum after someone ordered one for me as a birthday present from amazon.com; however when it arrived the parts did not match up and it had to be returned. Instead of going thru this again – which is utterly frustrating and more expensive I was THRILLED to find your website and Abigail’s desire to make one too!! Brava!! And all my gratitude!!